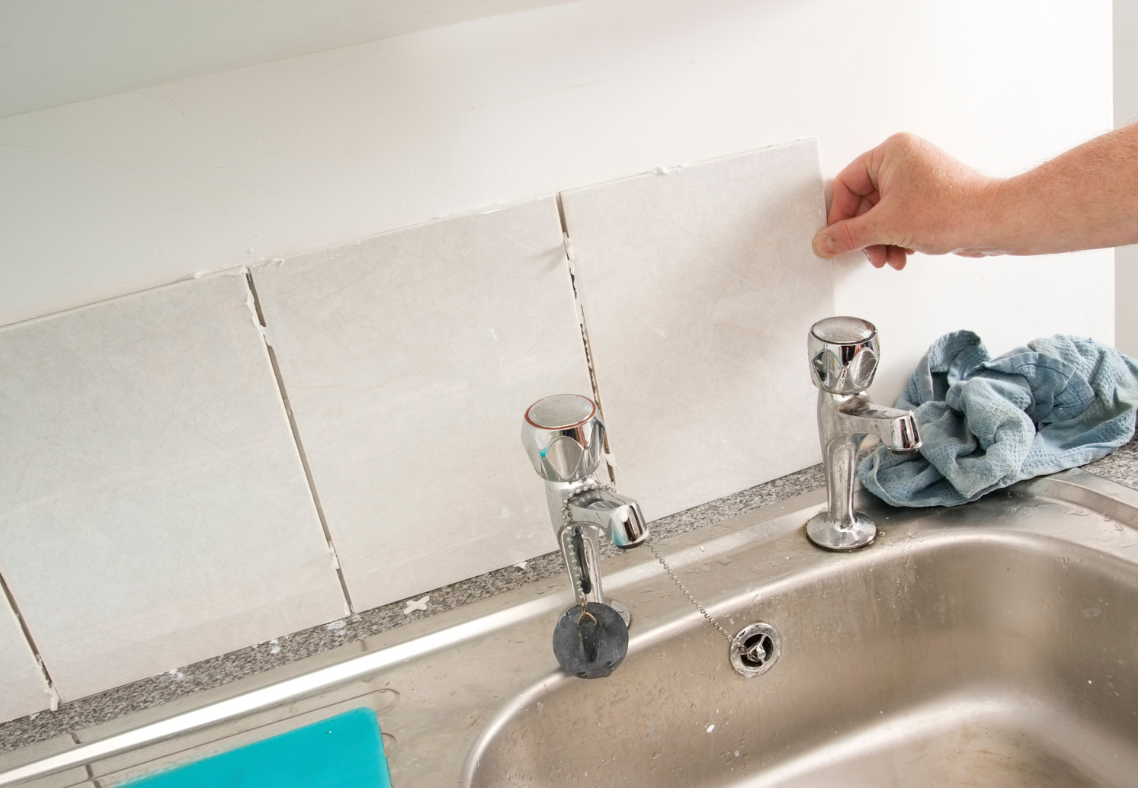
How To Repair Damaged Grout In Your Kitchen
Contact UsGrout plays a pivotal role in maintaining the integrity and appearance of your kitchen’s tiled surfaces. Over time, it’s not uncommon for grout to become discolored, cracked, or damaged due to regular wear and tear, exposure to moisture, and the settling of your home’s structure. Addressing grout issues promptly is essential to prevent further deterioration and potential damage to the underlying surfaces. For residents of Bethesda, Maryland, understanding how to repair damaged grout can help preserve the beauty and functionality of your kitchen.

Answering The Question: How To Repair Damaged Grout In Your Kitchen
Understanding Grout and Its Importance
Grout is a cement-based material used to fill the spaces between tiles, providing a finished look and preventing debris and moisture from infiltrating beneath the tiles. Properly applied grout ensures that tiles remain securely in place and contributes to the overall durability of tiled surfaces. However, when grout becomes compromised, it can lead to a host of issues, including water damage, mold growth, and loosening tiles.
Common Causes of Grout Damage
Several factors can contribute to grout deterioration in your kitchen:
- Moisture Exposure: Kitchens are prone to spills and humidity, which can cause grout to absorb moisture, leading to weakening and mold growth.
- Improper Installation: Incorrect mixing or application of grout during the initial installation can result in weak grout lines that are more susceptible to cracking and crumbling.
- Heavy Traffic and Use: Areas that experience frequent foot traffic or heavy use, such as kitchen floors and countertops, can see accelerated grout wear.
- House Settling: As your home settles over time, slight shifts can cause tiles and grout lines to crack.
Signs That Your Grout Needs Repair
Identifying grout issues early can prevent more significant problems down the line. Look for the following indicators:
- Cracking or Crumbling: Visible cracks or pieces of grout missing between tiles.
- Discoloration: Stains or darkening of grout lines, often indicative of mold or mildew.
- Loose Tiles: Tiles that move or sound hollow when tapped may signal compromised grout.
Step-by-Step Guide to Repairing Damaged Grout
If you’ve noticed any of the above signs in your kitchen, you can undertake the following steps to repair the damaged grout:
- Gather Necessary Tools and Materials
- Grout saw or removal tool
- Shop vacuum
- Grout mix (sanded or unsanded, depending on joint width)
- Bucket for mixing
- Grout float
- Sponge
- Clean cloths or towels
- Grout sealer
- Remove Damaged Grout: Using a grout saw, carefully remove the damaged grout to a depth of about 1/8 inch, taking care not to damage the surrounding tiles.
- Clean the Area: After removing the old grout, use a shop vacuum to eliminate any dust and debris from the joints. Wipe the tile surfaces with a damp sponge to ensure they are clean and free from residue.
- Mix and Apply New Grout: Prepare the grout mixture according to the manufacturer’s instructions. Using a grout float, press the new grout into the joints, ensuring they are fully filled. Hold the float at a 45-degree angle and work diagonally across the tiles to achieve even application.
- Clean Excess Grout: Allow the grout to set for about 15 to 30 minutes, then use a damp sponge to gently wipe away any excess grout from the tile surfaces. Rinse the sponge frequently to maintain cleanliness.
- Allow Grout to Cure: Let the grout cure for the time specified by the manufacturer, typically 24 to 48 hours. Avoid using the area during this period to ensure the grout sets properly.
- Seal the Grout: Once the grout has fully cured, apply a grout sealer to protect it from moisture and stains. This step is crucial in a kitchen environment to prolong the lifespan of your grout and maintain its appearance.
When to Seek Professional Assistance
While minor grout repairs can be managed as DIY projects, extensive damage or large areas may require professional intervention. Additionally, if you’re unsure about the type of grout to use or the correct repair techniques, consulting with a professional can ensure the job is done correctly and efficiently.
Contact Handyman At Your Command for Kitchen Grout Repair Services in Bethesda, MD
If you’re a Bethesda resident facing grout issues in your kitchen, Handyman At Your Command is here to help. Our team of skilled professionals has extensive experience in grout repair and can restore the beauty and functionality of your tiled surfaces. Don’t let damaged grout compromise the integrity of your kitchen. Contact Handyman At Your Command today to schedule a consultation. We’ll assess the condition of your grout and provide tailored solutions to meet your needs. Experience the peace of mind that comes with knowing your kitchen is in the hands of trusted experts. Reach out to Handyman At Your Command now and let us revitalize your kitchen with our top-notch grout repair services. For more information or to book an appointment, visit our website or call us directly. We’re committed to delivering exceptional service to our Bethesda community and look forward to assisting you with all your home maintenance needs.
